Sunday 28 April 2013

Thoughts on a Japanese woodwork demo


Back in 2010 I visited the Cressing Temple woodwork show which was, in many ways, excellent. There was a significant Japanese element on both stands and tool sales supported by a live demonstration by a "genuine" Japanese woodworker of apparent renown.

Having stood in the crowd for some time watching the object of veneration I was struck by the significant absence of activity. There was much posturing and preparation, gesticulation and posing, but not a lot a sawdust or shaving produced. A significant requirement appeared to be fully toed woolly socks but I failed to spot any prehensile gripping or manipulation taking place. At the end of the day I went back and confirmed that nothing had apparently been made.

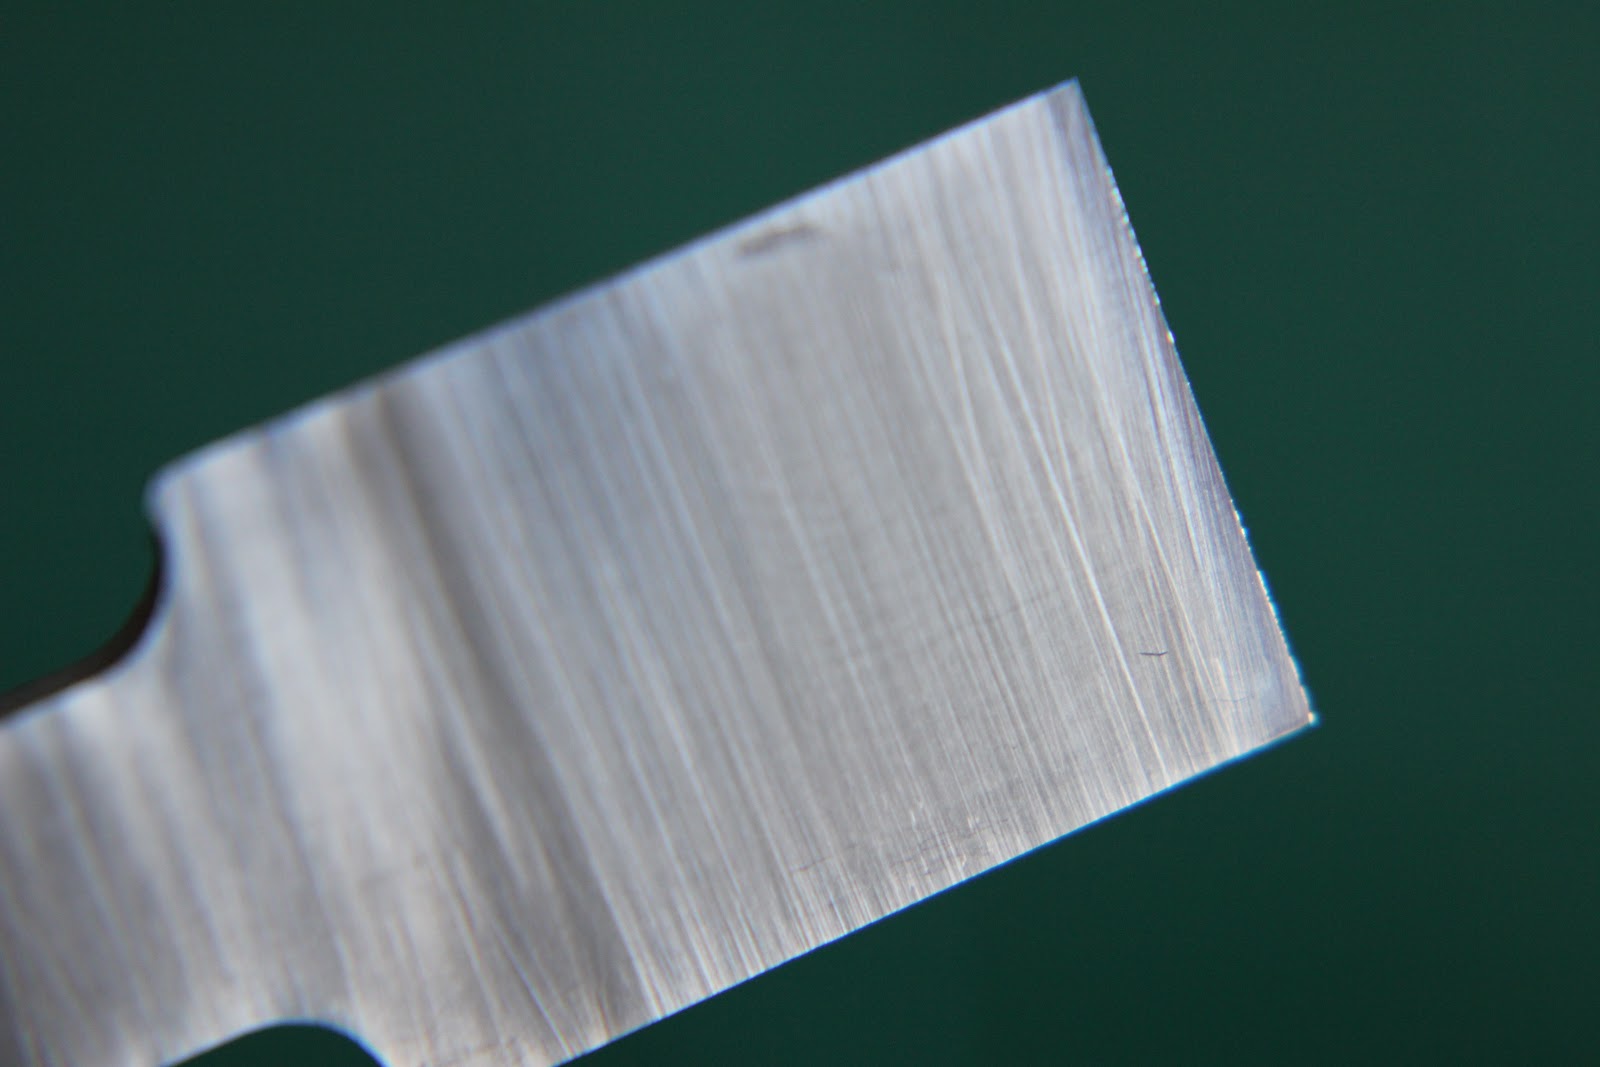
Whilst I do have a few Japanese tools, and use them where appropriate, I think the surrounding hype  grossly over-plays their qualities. In particular, since Japanese woodwork is usually in softwood they are not always suited to European timbers and illustrate this by cracking up on the edge. I have also had 4 laminated paring chisels bend into bananas after several years of use and teeth break off saws.

Supporters speak in hushed tones about asiatic meisters, crouching in darkened workshops, in heaps of charcoal and straw, beating out sabre like blades. They use ancient knowledge which is, of course, a closely guarded secret, to be handed to each generation only from the deathbed of the former.

Personally I suspect there is more of a commercial element in exploiting this marketing hype, which is not always sustained by the performance of the tools in use. It is difficult to find planes and chisels which outperform the recent offerings from USA and Canada, not to mention our own, more traditional survivors when used in European conditions. The price levels of Japanese tools tend to support this and are completely unjustified in real terms. Some of the sellers both here and in wider Europe have driven this cult to fever pitch and no doubt profited handsomely from the result.

What really annoys me is the false fervour which is encouraged amongst the believers and leads the less experienced into an expensive and often disappointing experience.

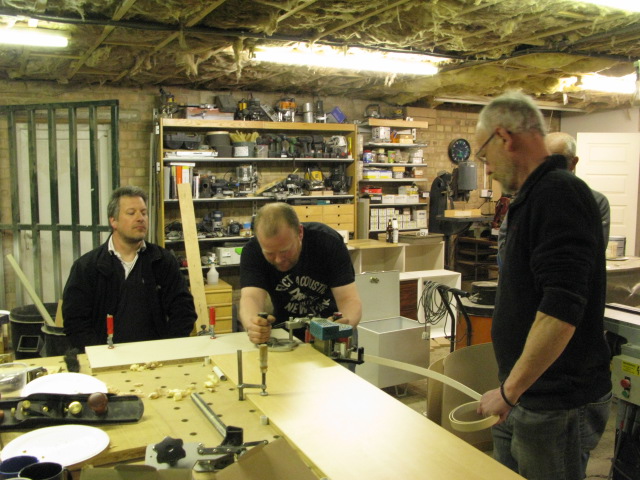
I was reminded of this at yesterday's gathering in Lincolnshire and dug out the original skit clip I made a the time for the benefit of those who may have missed it first time around.


.
It is shown in the original sideways format to illustrate the ridiculousness of the situation and also because I have not been able to find any software to turn it around :-)


Jonny D's open day

We had a Woodies meet at Jon's yesterday, which was a great opportunity to meet up with old friends and some new faces, at one of the best makers in the group. Jon works out in the sticks near Boston and has a large workshop crammed with some solid machinery featuring Wadkin, Sedgewick, Multico etc and some top line hand tools, not least his recent additions from the Veritas stable.

The Peak Hydraulic Group turned out in force for the event and, being currently under doctor's orders, I volunteered to drive. Doug  helpfully decided to bring along a wardrobe door for the edgebanding demonstration so it was a bit cosy in the back seat for a while.

We kicked off with some general milling about and socialising and checked out some of the more exotic hand tools including the Lie Neilsen mitre plane on which I managed to mitre my finger end, some Clifton hollow and round spokeshaves and a Veritas LA jointer with side fence.

Alex brought along the remarkable Festool Jigsaw, which takes the process to a new level and I have heard at least two have been ordered this morning!

We took Jacob (Mr Grimsdale) along, but the personal protection we had arranged proved unnecessary and he is seen here chatting happily to Alex from Derby with wee Bob, Matty and Ed straining in the background trying to hear how to do rounded bevels.

Wee Bob had come along to flog off some dodgy Essex kit and brought his hound for protection. The hound ate the chocolate cake and I picked up some quick clamps which was handy. I also picked up the remnants of the chocolate cake, before being told the hound had cleared the plate, and my current health is testament to the welfare and condition of the dog!


It was great to finally meet Paul Chapman and I had a long and enjoyable exchange of views which was long overdue, great to meet you Paul. We share  some views on modern architecture, windows and the like which at least makes two of us. The rest of you don't know what you are missing.


JH was put to work trimming a pack of veneer which Jon then bonded to a piece of MDF in the Airpress. Many helpful tips emerged in the process and we tried the Mirka sander when it had gone off which was truly excellent and completely dust free. I think we all managed to get a gratuitous shot of the Brooks Bros calendar and wondered why we had not all been offered one!


After an outdoor barbeque, courtesy of Ditchburn senior, Doug's door now came up for processing and we were treated to a demo of the edgebander, which produced an excellent result, before being finally finished with the back of a kitchen knife! Doug looks worried in the background.


With the practical demos over it was time to go into the classroom with Nick for an introduction to the intricacies of Sketchup. This ever more popular solid drawing software is great for woodwork but you need a different mind-set if you are coming from CAD. Nick did a great job of introducing the basic concepts then giving us an insight into the more advanced possibilities of animations, external background graphics and links to Cutlist etc. Thanks Nick (on the left) it was much appreciated. (although you wouldn't think so from the expressions below!!)


It really is a great offshoot of the woodwork forums that these events take place where we can exchange experience and ideas and have a good social event at the same time. We ended up sampling the local hostelry, which was truly excellent, before gravitating to the usual Indian. Most of the more responsible members then set off for home leaving only the dissolute hard core to sample the fleshpots of Boston and the mandatory marathon session.

Thanks to all and looking forward to the next one. A plane-in at Crich perhaps? 

Friday 26 April 2013

Veritas Medium Shoulder Plane

I had the opportunity to acquire one of the above second hand and was unable to resist the temptation, being a great fan of Veritas quality and design innovation. For those not yet affected by the (as yet uncurable) toolie virus, the shoulder plane differs from the rebate plane by having a low angle 12 degree bed to cut end grain cleanly on tenon shoulders, secret mitre dovetails and other similar everyday tasks.

For this application it would be better to have a shallow honing angle to further improve performance and, if buying new, I would have specified a traditional A1 carbon steel blade to hold a fine edge. My example came with a high speed steel A2 blade, which will hold it's edge longer, but may need to be honed slightly higher to avoid crumbling of the edge. This is particularly important as the plane is targetted at end grain.

There was a bit of a drama on purchasing when the original owner announced there was an "issue" with these planes in that the bed distorted when the blade clamp was tightened. I took this up with Rob Lee, the MD of Veritas, and he assured me that there was no issue but clearly the effect of tightening the clamp would be to cause some movement, as with any loaded beam, but this was not a significant issue. In any case, it was not necessary to tighten the clamp more than enough to retain the blade.

Fortunately the plane arrived in good condition and had clearly seen little use.


The blade had clearly had some difficulty in it's early life and the final polishing of the back, normally a quick operation on Veritas tools owing to the fine pre-lapping, had resulted in a slightly rounded over edge, possibly from a slightly hollowed stone.


There was also some evidence of the aforementioned crumbling with an uneven hone on the top edge.


Working quickly through the grades from 1000 to 6000 waterstones quickly removed the marks from the back. I decided to re-grind the upper bevel on the Tomek to remove any soft edge and even out the primary bevel before final honing.


A final finish on the 8000 Cerax finished the job nicely.


The upper bevel after re grinding to 25 degrees  and the addition of a small bevel removed the original rounding over and produced a fine edge at 30 degrees.


A test on a small piece of American White Oak confirmed the excellence of the design. It was much easier to hold and control than the traditional Stanley/Record and produced a very fine and even shaving with minimal setting up. The adjustable mouth is another benefit over the Stanley and more important on long grain work like this, rather than end grain.


 Ready for action. All I need is the time for some furniture making.

I have not mentioned the blade side guide grub screws or the Norris type blade adjuster as these are less important in a shoulder plane where the blade needs to be moved from side to side according to the direction of the grain. Clearly you really need a pair of them! Having said that they should probably be set so that they define the limits at each side with the skew adjuster used to even the shaving across the width.


This is truly excellent tool with all the benefits of Veritas development and, whilst it may not be something most woodworkers might use every day, is invaluable when the need arises. The overall quality is stunning and it is a beautiful tool to own and use.

Friday 19 April 2013

Austrian Hotel Woodwork

They love their pine woodwork in Austria, it is everywhere. This hotel was build in 1990 and most, maybe all,  of the detail is done by hand.


Dining room was really nice


I love this mould detail - very clever


The ceilings were all very decorative


All this work just for a bar seat


I think all this was done by hand


It's a very bad shot but the serpentine ceiling panels were definitely finished straight from the plane along with the surrounding framework


Not sure which vegetable this is (artichoke?) but clearly hznd carved


The lights were fantastic art-nouveau reproductions


Another ceiling detail


This may have had some machine work but I couldn't be sure


Fantastic AN staircase which had been made in place with brass beaten over the handrail and some details


My favourite item was this arched window with full Euro tilt and turn gear. Very difficult to do.


 Final staircase up to our 3 room suite, all for 100 Euro per night for two, including breakfast. It's z good time to visit Austria between skiing and summer.


Friday 12 April 2013

Built in log store

I needed a ventilated space to store logs next to our woodburner in the lounge and had created a space by the making the flue cowl a central divider on an otherwise flat wall. I installed an external, baffled air vent in the wall to prevent draughts and drawing air from the area of an adjacent stove in the hall.

It was an opportunity to use up a pile of board ends in Douglas Fir (Columbian or Oregon Pine depending on where you are reading this) which had accumulated from windows and doors elsewhere.

I didn't bother with a drawing so this is a view of the part finished installation


First I framed out the space and made a level top. I wanted the front rail to extend right up to the wall on both sides to continue the line of the piece.


I prepped up all the stock to size and decided to use dominoes for speed and accuracy to maintain even spacing for the slatted tops.


As usual  I assembled on a building board to ensure squareness and avoid wind.


I screwed blocks to the board and knocked in wedges to clamp up


Hinged to the back rail with a small overhang at the front to serve as a handle


A fairly simple job but nice to do and used up a pile of short lengths, which is always satisfying.


It still needs a final coat of the black varnish and I will be re-routing the cables out of site (eventually)


Sunday 7 April 2013

Modern staircase in cherry, glass and stainless


I have moved my earlier notes on the banister to this new thread, dealing with the whole of the staircase construction, to make it consistent.


As for the stairs themselves, they are supported on a pair of steel rectangular hollow sections (3mm thick), after a lengthy discussion with the fabricator on section and thickness. There is minimal bounce and a pair of tubes is much less conspicuous than a single central tube, which needs to be quite large to prevent twist.

The fabricator installed the steelwork and over to me for the joinery.

The treads were 40mm cherry and, owing to the limited board widths available, needed to be jointed for each tread and then to the riser to bring the gap within building regs. I initially found the need for the riser disappointing, but it actually enhances the appearance in the finished job.

We start, as ever with the pile of timber and chop, as opposed to hand, saw owing to the quantity. There is a surprising amount of timber in a stair of this type, £700 worth in fact.


Into the workshop for initial preparation. Cherry can be quite variable with regard to hardness and I do not always reject all the sapwood as I think the use of a little can be quite attractive.


Once prepped the were edged with  No 7, slightly hollowed with a smoother and double biscuited for alignment and a little reinforcement, considering the application. This was probably overkill as the glue will easily hold such wide edges but better safe than sorry.


Glue up used every cramp in the shop and most of the available space, but was straightforward once the preparation was complete. I matched the grain as best I could and numbered the boards for jointing.


 I used the same procedure for the riser joint to ensure the minimum glue line.


I had to turn my long suffering temporary stair at right angles while we prepared the landing area and this meant a bit of a crawl to get to bed!


The treads were attached to the steel brackets with threaded inserts and the position was critical as there was little room to adjust in the brackets. I used a template and centre punched through before drilling to accept the inserts. The holes had to be made oversize as the cherry was so hard and the hex drive had a tendency to strip out before the nut was home. Fortunately I had been forewarned and did a few trial runs first on a piece of scrap.


The treads for the half landing took a little more working out with a couple of cut-outs to miss the frame sections and I finished the 45 degree angles with the low angle jack before assembly.


It all went together fine and was enjoyable, simple woodwork with such nice timber. It finishes really well straight from the plane so sanding is minimal.


The treads were drilled for the balustrades and finished in 3 coats of Bona Mega which seems glass hard and wears well whilst being water based is easy to use.


I started assembling from the bottom and was relieved the pre- installed lights ended up in the right place.


Ready for the stainless posts and glass.


I had trouble sourcing a 50mm round section cherry handrail so decided to make one up from two laminations and some circular spindle work


I jointed up and laminated some 75 x 40 cherry and clamped them together to try to get them to stay straight.


Having sourced some suitable knives I found the finished mould fouled the centre of the block as you can see from the witness.


The answer was to get the block into the metalwork lathe and machine some additional clearance in the centre section


4 overlapping passes were needed just leaving a witness on each face to be sanded away later. This was essential to avoid undercutting the shape.


Finally produced sufficient lengths for the job.


Having measured the angles I chopped the rail and joined with Zip Bolts, followed by taper plugs which worked very well.


A bit of carful bench work and a lot of trial and error finally produced a true fit for the bannister.


I used the same system for the landing balustrades and the atrium in the background.


All in all I learned a lot and am well pleased with the finished job. The materials were expensive but I achieved the appearance I wanted and it's there for the duration now.